How to Replace a Toilet by Yourself
Date: June 11, 2018
ARTICLES
HOW TO REPLACE A TOILET BY YOURSELF
JUN 11, 2018
The money you put into your bathroom is generally money well spent. After all, it adds value to your home and makes your life much more comfortable. If you are in the middle of a bathroom remodel, you may want to consider putting in a new toilet. While this is a process usually performed by professionals, you can do this job on your own. Learning how to replace a toilet isn’t that complicated, even though it will require some heavy lifting along the way.
HOW TO INSTALL A TOILET: A GUIDE
Putting in a new toilet is a mid-level DIY project that requires a lot of manual labor, but isn’t outside the realm of possibility for anyone who doesn’t mind heavy lifting or the possibility of getting wet. It shouldn’t take more than an hour to do the entire replacement process, though any problems encountered along the way may greatly increase the amount of time needed to do the work. Below is a quick guide on how to install a toilet with minimal fuss.
GATHER YOUR SUPPLIES
Starting the process of installing a toilet means doing a little work beforehand. Make sure that you measure the area in which you are working and that you know the right size of toilet to buy. What you need is obviously based as much on the available area as it is on personal preference, so we suggest doing a little research before you move on to the next bit. Once you have your new toilet, you can start assembling the necessary tools.
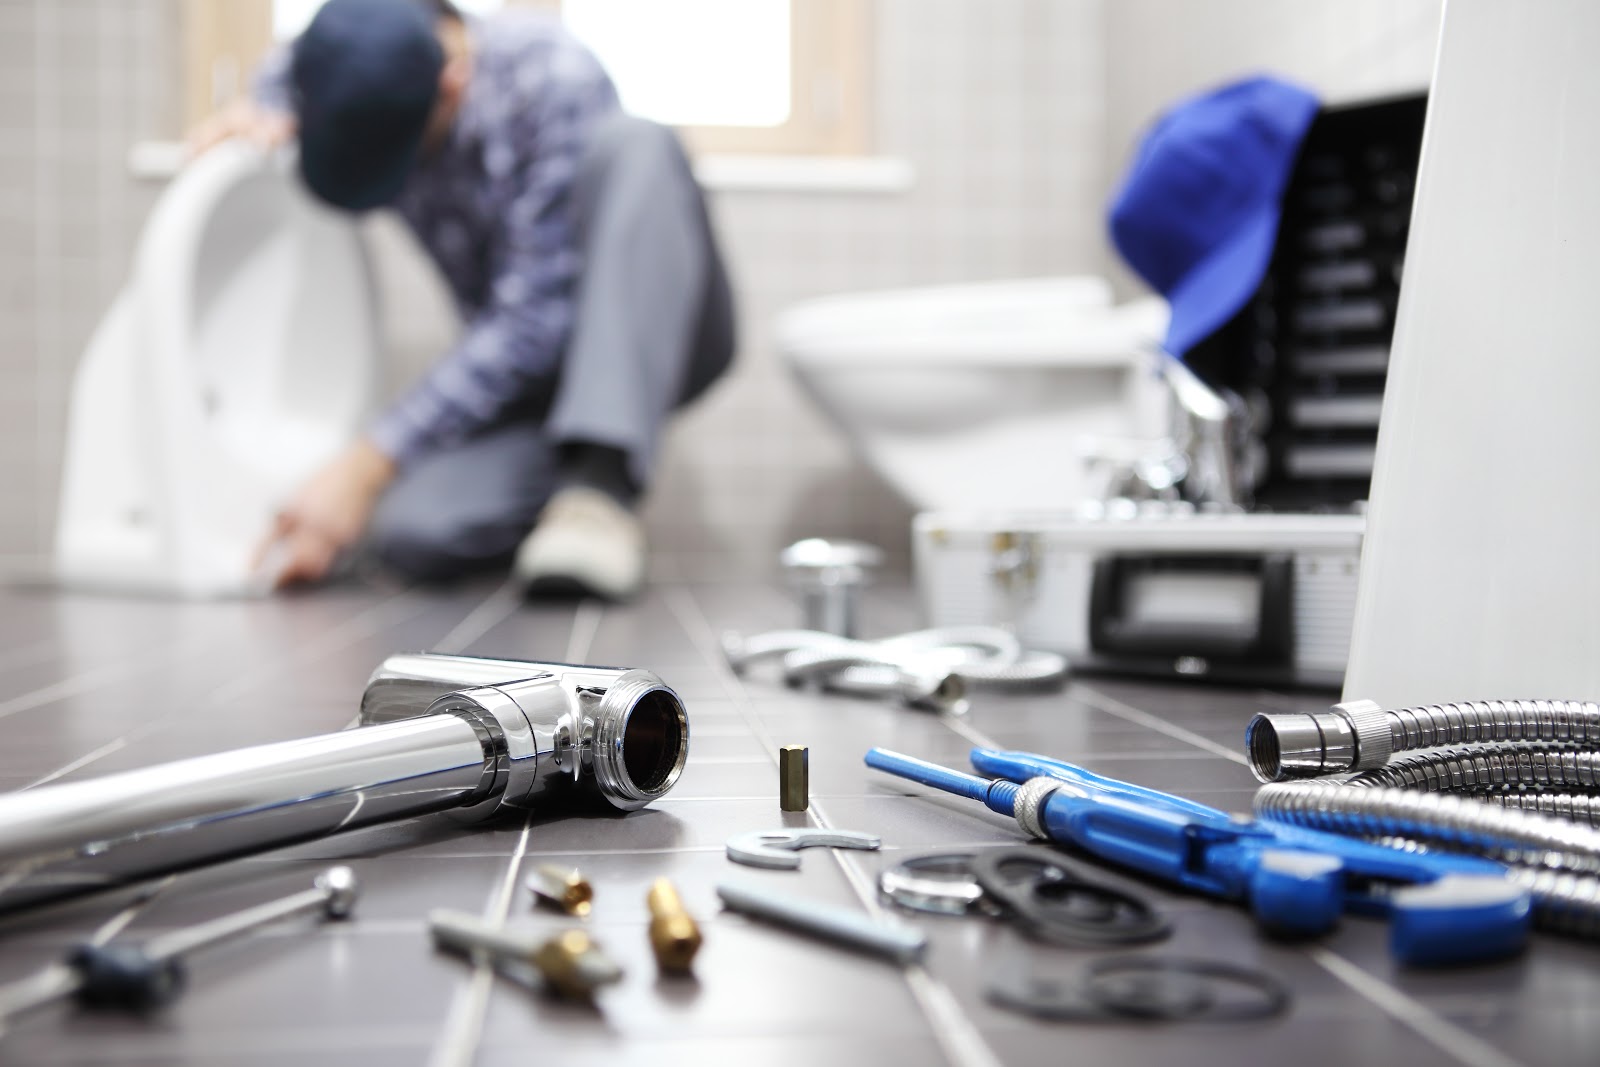
Working on your toilet can be strangely tool-heavy, but only if you run into problems. If you’ve got a very simple job, you probably have everything you need in your toolbox already. You will want a set of screwdrivers, an adjustable wrench, pliers, rags, a caulk gun, a utility knife, and a cordless drill for the project. These will be your main tools almost all the way through, so make sure to have them on hand.
There are also a few additional tools that are nice to have just in case. If you have access to a shop vac, try to keep it handy for clean-up. You may also need a hacksaw, depending on the state of the bolts on the toilet. A level and tape measure are also decent tools to keep around even after you’ve done the measuring just so that you can double-check all of your math while you’re working. If you need more tools than these, it might be a better idea to call in professional help.
DEALING WITH WATER
As you might expect, part of learning how to install a toilet will involve learning how to deal with water. Your toilet tank is likely already full of water and it will need to be drained before you can learn how to replace the toilet. This won’t be tough, but you need to follow the directions precisely. Many people forget these steps and end up with a very messy bathroom. Turning off the water is the single most important step of the entire toilet removal process, so don’t forget it in your rush to get the job done!
You’ll start by turning off the water. There should be a simple spigot next to the toilet, and turning the handle will be enough to take care of this. Next, you’ll remove the top of the tank along with the refill tube from the overflow pipe. When you next flush the toilet, it shouldn’t refill – you’ll be able to drain out the vast majority of the water in one or two quick flushes. You can use a rag or a squeegee to mop up the rest – the more you get out, the less old toilet water with which you’ll have to deal when you’re done.
Once the water is gone, you’ll need to disconnect the water line. If your water is off, this won’t be too tough. If the water is still on, though, you’ll be in for a wet surprise. Always double-check that you’ve turned off the water before you move on to the next step.
REMOVING THE OLD TOILET
Perhaps the most cathartic part of learning how to replace a toilet is figuring out how to remove the old toilet on your own. It’s really just a matter of disassembling parts, which doesn’t take much work. Just make sure to do things in order and you’ll be fine. Don’t work too quickly here, as you’ll want to make sure you remembered the order in which you did this work. It shouldn’t take you too long, though, since you’ve already dealt with all of the water-based issues in the step before.
Your first step should be to remove the bowl. While this is technically not necessary, it makes things a lot easier and can stop you from causing costly damage if you manage to drop the entire assembled unit. Most toilets have a set of bolts underneath that attach the tank to the body of the toilet. Remove these bolts and lift up – it shouldn’t take too much force to move the tank out of the way. If the bolts are rusted, you may want to use a hacksaw to cut through them since you won’t be using them again.
Now that you’ve got the tank off, you can move on to the toilet. In most cases, the bolts on the bottom are covered by caps. These can be removed with a flathead screwdriver. Again, it’s very possible that these bolts might be corroded due to years of being ignored, so you may be in a position where they have to be sawed off. If they have been properly covered and the toilet has been cleaned, though, you should be able to remove them with relatively little effort. Once you have the bolts removed, you can go ahead and remove the rest of the toilet.
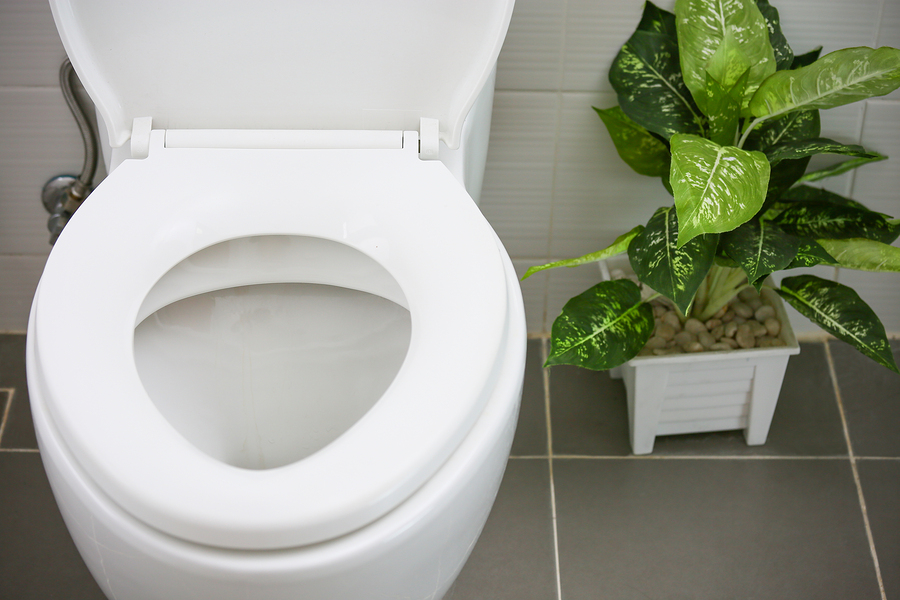
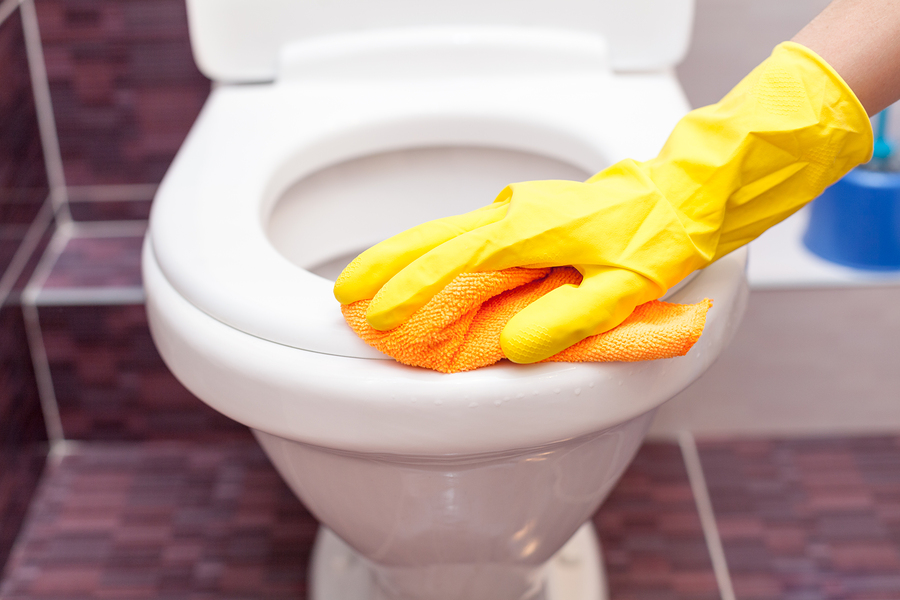
CLEANING AND THE WAX RING
Once you’ve got your old toilet out of the way, it’s time to start cleaning up. Life is much easier if you have a nice shop vac for this, but you’ll be able to pick up any remaining debris by other means if one is not available. Clean up this area as well as you can, since it’s probably the best chance you’ll ever have to truly clean without the toilet in the way. It’s vital that you go ahead and remove the old wax ring at this point, as you’ll need to replace it with another wax ring shortly.
Once you’ve got all the cleaning done, you’ll want to take a look at the bolts that hold the toilet on the ground. If they’re rusty, they’ll need to be replaced with new bolts. If not, you’ll be able to reuse them. The fortunate part about being able to reuse the bolts is that you won’t have to cut them down with a hacksaw later. Set these aside for the next few minutes, as you’ll now need to turn towards the new wax ring for the next part of your assembly.
There’s good news and bad news here. The good news is that installing a wax ring is fairly simple. The bad news is that if you mess up, you have to start all over again. This is one of the most annoying parts of installing a toilet, so don’t feel too bad if it takes you a few tries to get it done. Once it’s in place, you should be able to start the somewhat easier process of putting the new toilet in the place where your old toilet once sat. You’re done with most of the hard stuff – now you can move on to installation.
ASSEMBLING THE TOILET
Assembly of the toilet isn’t actually all that difficult. Perhaps the toughest thing is getting it seated correctly. Most guides will tell you to press down firmly on the toilet so that it adheres to the floor, but the truth is that you can put far more pressure on the toilet by simply sitting down on it. Be careful when it’s not stable, of course, but this will give you a much more firm base to work with. Give it a try to save yourself a little bit of time and a small amount of effort.
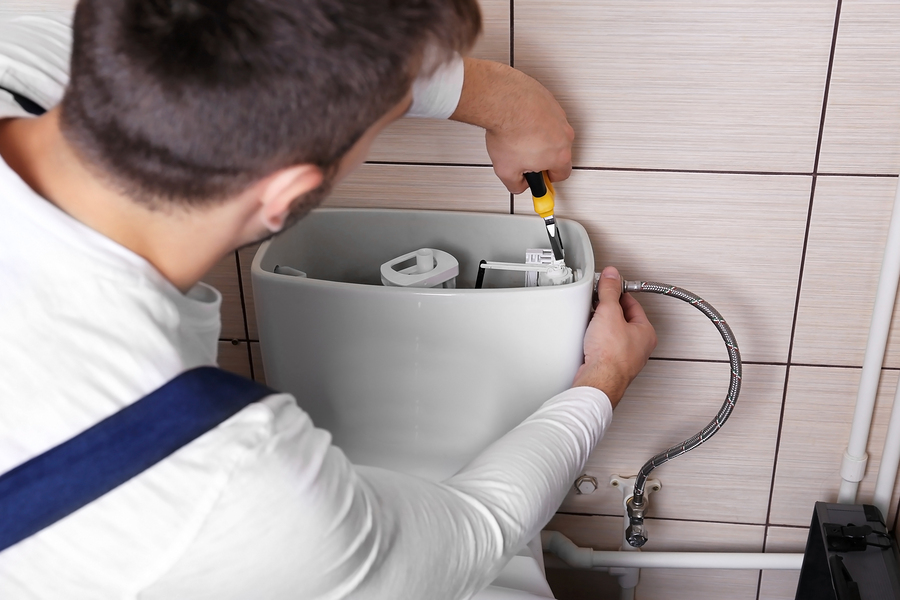
Once you have the toilet in place, you’ll reverse the process that you undertook when you were taking apart the old model. This isn’t terribly tough, but try to remember to do things in roughly the same order. You’ll want to make sure that each piece is attached tightly and that it doesn’t move too much. Having too much play in any piece may not seem like a problem now, but it can cause some real issues down the road. Once you’ve got everything where it needs to be, you’ll want to double check to ensure that everything looks right.
The good news is that this is your final major assembly step. Unfortunately, your next issues will all surround the plumbing that is connected to your toilet. Again, this isn’t necessarily a hard process when things go right, but it can become very difficult should you encounter any kind of unusual problem. You may want to take a break before starting the next step, as any mishaps encountered here will almost certainly require you to put in much more effort than what has come before.
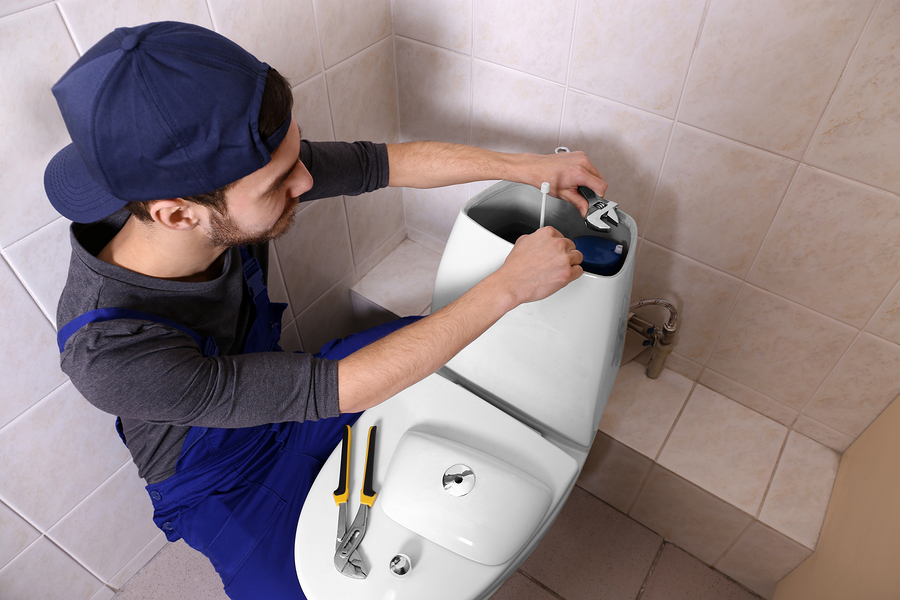
CHECKING THE WATER
By this point, you should have reconnected the water supply line and placed the refill tube back in the overflow pipe of the toilet. Make sure that both of these parts are firmly where they need to be – failure to do so will either soak you with water now or cause you to have to deal with leaks later. This is the toughest part of putting together your new toilet not because it’s mechanically difficult, but rather because you’re going to encounter some significant points of failure here that you may not be able to deal with on your own.
Now that you have everything in place, you can turn the water back on. If the water is flowing correctly, you should be ready to go in a relatively short amount of time. If the water is not flowing correctly, though, you’ll know right away. Try giving the toilet an experimental flush to make sure everything is working as anticipated.
Congratulations – the actual process of installing a toilet is done once you are sure that the water is working correctly. If you have followed all of the steps correctly thus far, you have probably spent around half an hour on the toilet, not including time spent with any corroded bolts, cleaning up excess water, or putting caulk around the base. Keep an eye on your new toilet for leaks for the next few days – if a problem is going to present, there is a very good chance that it’s going to do so sooner rather than later.
TROUBLESHOOTING
Most DIY projects go fairly well, but there should be some margin for error in what you’re doing. If and when you encounter a problem, take some time to rationally diagnose what is going on. While you may not always be able to tell the source of the noises your toilet makes, having an idea of where they are coming from can help you if you decide to call in a professional. As such, you may want to take a moment to consider some of these basic troubleshooting steps once your toilet is installed.
First and foremost, never be afraid to shut off the water. If you think there is any kind of problem that could cause a leak or get you wet, turn off the water before you start working. Not only does this help to keep a few minor dangerous issues from happening, but it will also help you to work on the toilet with a bit less mess. Never put yourself through more than you have to when working on a toilet.
Next, make sure you can tell the difference between a problem with the plumbing and a problem with the new toilet. Things like split bowls, issues with the hinges, and issues with the tank itself are probably issues with the toilet. If you can’t flush or have some kind of backup, there is a good chance that your problem is with the plumbing.
You should also always know your limits. Know what you can fix and when you might need the help of a professional. Don’t risk flooding out your bathroom just to save a few bucks. You’ve done the hard work of putting a toilet in on your own, so don’t make the mistake of ruining all that work by doing something that you’re not qualified to do.
As you can see, it’s very possible to install a toilet on your own. You’ll have to do some heavy lifting and there are certainly things that can go wrong, but it’s not outside the realm of possibility for most people. Just because you can do it, though, doesn’t mean you have to install your own toilet. If you want to skip all of this work, you can always get professional help. If you want to make sure that your toilet is installed correctly without having to deal with any of the possible problems along the way, make sure to call Donley Service Center today.