How to Fix a Leaky Faucet Like a Pro
Date: March 15, 2018
ARTICLES
HOW TO FIX A LEAKY FAUCET LIKE A PRO
MAR 15, 2018
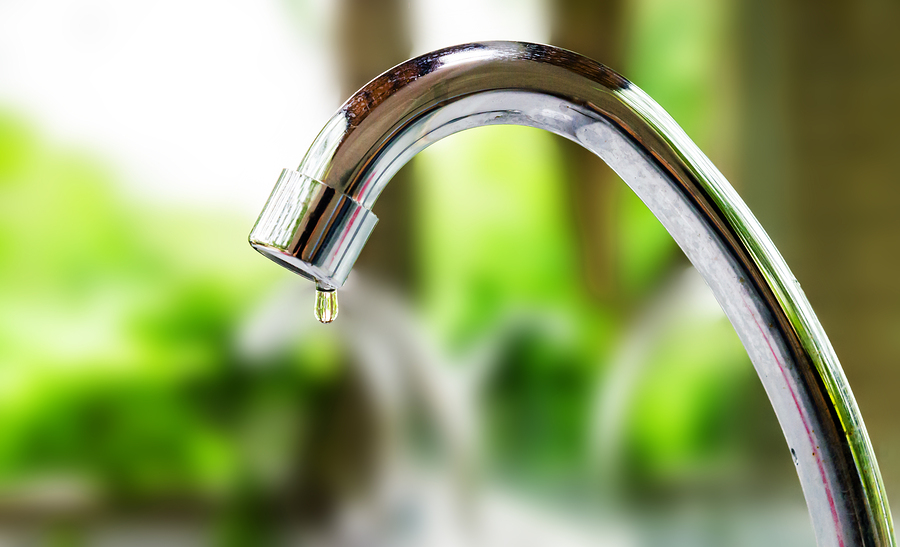
Leaky faucets are not just a major annoyance. They can cost you tons of money over timebecause of wasted water. Read on to figure out how you can complete this simple repair yourself!
FIX A LEAKY FAUCET
While a reputable plumbing company should never turn down your business because a repair is too small, it is often more convenient for a homeowner to do small repairs themselves where practical. If you’d just like us to fix a dripping faucet for you, by all means, give us a call! But if you’d rather wait to call us when faced with a more complex plumbing problem, read on for our step-by-step guide to take care of a leaky faucet all on your own.
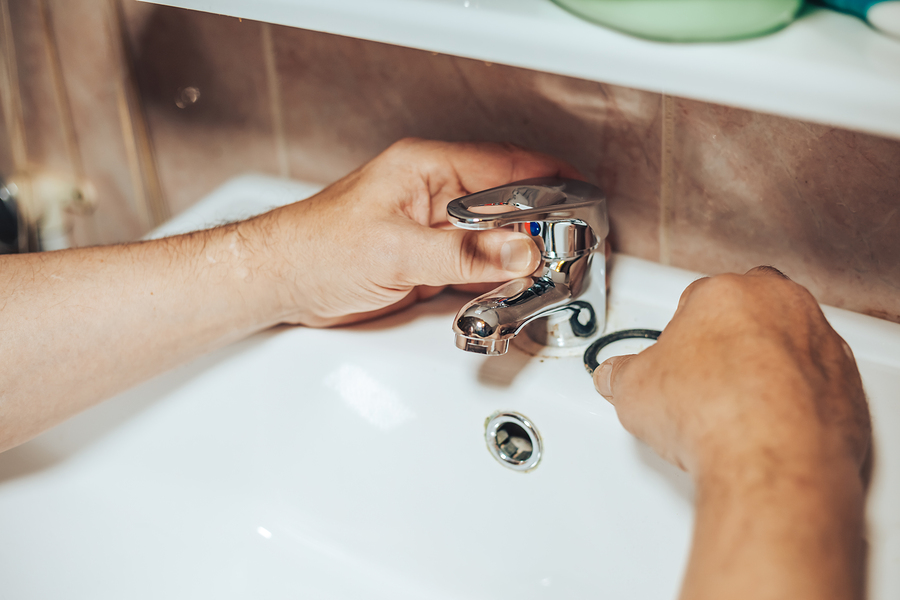
PREPARING FOR THE REPAIR
First things first, you will want to turn off the water under the sink before you get down to business. If you find that the faucet continues dripping even after you have turned off the water, consider calling a professional plumber. In this case the issue may be with your valve and not the faucet. If, however, turning off the valve does stop the dripping faucet, proceed to next steps.
Cover your wrench in a layer of duct tape to help keep the tool from scuffing up your fixtures. Close the drain to the sink and cover it with a towel or something else that will work to catch any parts that you may drop over the course of the repair.
IDENTIFY WHICH TYPE OF FAUCET YOU HAVE
Do you have a compression, cartridge, ceramic disc or ball-type of faucet? For a handy reference that gives you the rundown of each type of faucet to help you correctly identify yours, check out this quick article.
FIX A LEAKY BALL FAUCET
The exact source of a leak in a ball faucet can be pinpointed based on which part of the faucet the leak is coming from. If it is near the base, it is likely a worn O-ring. If the leak is in the spout or aerator, it is more likely that rubber seals are worn or that the control ball is damaged. Purchasing a basic ball faucet repair kit at your local hardware store should give you all of the parts you need to fix the leak in either case — including a special spanner wrench to loosen and tighten back up the locking collar.
First, you will want to expose the faucet top cap by using the allen wrench from your kit to loosen the set screw and remove the single lever handle. If you are fixing a leak at the base of the faucet, use the spanner wrench to tighten the locking collar. Then reassemble the faucet and turn the water back on to check your work.
If you are still experiencing a leak or are trying to fix a leak from the spout of the faucet, use a pipe wrench or pliers to remove the top can and expose the cam (a plastic piece that will have the lever poking through). From there you will remove the cam, cam washer and the control level ball assembly.
If the ball appears to be damaged, you will want to replace it with a new plastic or brass control ball.
Next, using a flathead screwdriver, remove rubber valve seats and springs before removing the faucet spout by lifting up and twisting.
Locate the O-ring around the base of the faucet body and pry off with a screwdriver or carefully cut it away with a utility knife. Then take the new O-ring and coat with heat-proof plumber’s grease before placing it back over the faucet base and sliding it into place.
Finally, reassemble the faucet and replace the valve seats and springs (use a Phillips head screwdriver to get it into place if needed), control ball and with the new ones included in your kit. Put the top cap back into place and reattach the lever using the allen wrench.
FIX A LEAKY CARTRIDGE FAUCET
To fix a leaky cartridge faucet, you will first want to use a screwdriver to remove the handle or handles after you have turned off the water valve under the sink and covered the drain. As with many faucet types, there may be a decorative cap hiding the screw attaching a handle.
Next, depending on if the cartridges or cartridge (depending on if you have one or two handles) is secured with a bolt or a clip, you will use either a pipe wrench or pliers to remove the old cartridge. After the bolt or clip is removed, pull straight up on the cartridge to remove it.
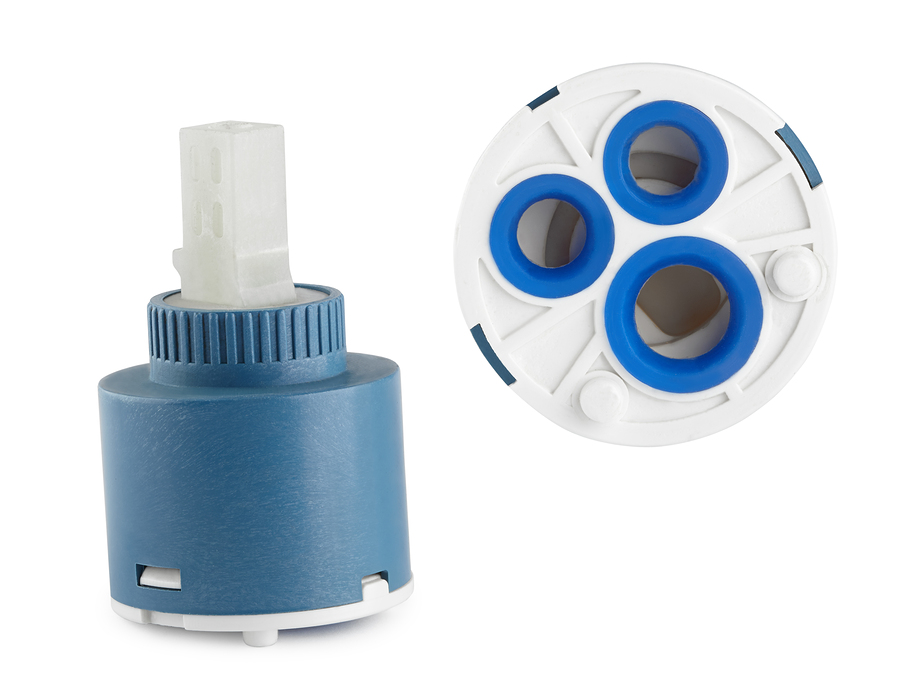
Pay attention to the orientation of the cartridge in the faucet so that you can more easily replace it later on. Use a screwdriver to remove the old seat and spring from the faucet.
Lastly, drop the replacement spring in and, using your finger, push the new seat into place. Smear a thin layer of plumbers grease on the new cartridge and push it into place, referencing the orientation you took note of when removing the old one.
You are then all set to replace the bolt or clip and handle or handles.
FIX A LEAKY DISC FAUCET
Disc faucets are more common in newer homes or remodeled bathrooms and kitchens. They typically come with hefty warranties, but leaks can spring up from time to time. As with any faucet repair, be sure to turn off the water valve under the sink first and cover the sink’s drain.
First, using a Phillips head screwdriver or allen wrench (your choice will vary depending on the type of screws fastening the lever to the faucet), remove the lever. Note that the screw attaching this lever may be concealed by an easily removed decorative plate, or at the side rather than directly on top. This will expose the cartridge so that you can remove it. Some are screwed into place and require more use of the screwdriver. Others can be gently pried out.
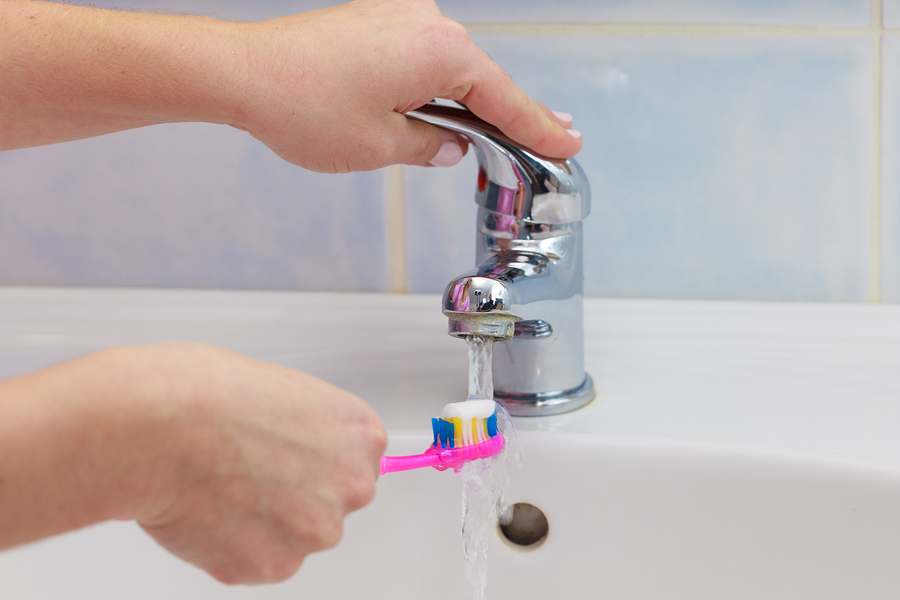
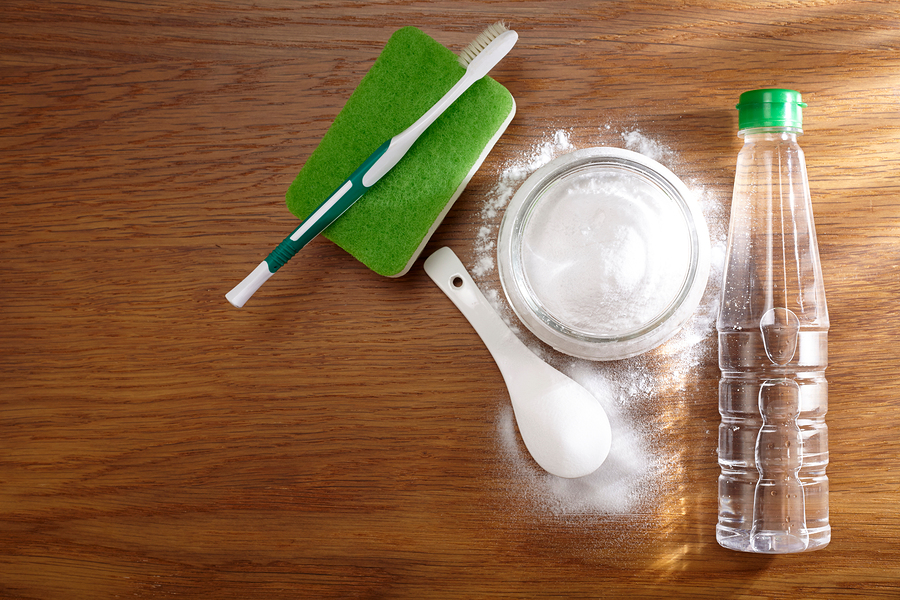
The next step is to check to see if the cartridge appears to be cracked or otherwise damaged. In this case, it will need to be replaced and you will want to take the old cartridge along to the hardware store with you to ensure you get the appropriate one. Otherwise, remove the rubber seals and thoroughly clean the cartridge and seals with an old toothbrush. Baking soda and vinegar are especially good for knocking out mineral deposits. If the rubber seals are damaged, they may need to be replaced as well — another instance in which you would want to take the cartridge with you to the store to ensure you get the appropriate product.
If the faucet was leaking from the neck, also remove the O-ring and replace with a new one coated in plumbers grease.
The last step is to reassemble the sink with the cleaned or new cartridge and rubber seals, reattach the lever and replace the decorative top cap if needed.
REPAIR LEAKY FAUCETS NOW
The simplicity of fixing a leaky faucet is fortunate given how important it is to tackle the issue as soon as possible. If you don’t have time or still don’t feel confident in your DIY abilities, don’t sweat! No job is too big or too small for Donley Service Center’s professional plumbers and we have same-day appointments available.
Whether repairing yourself or letting us help you out, there is simply no excuse to live with a leaky faucet. Contact us to schedule a service.